
This post follows just three days after we had the professionals pour the concrete slab. We had a busy weekend (what else is new) and did not have time to do very much. This weekend Drew concentrated on the concrete caps for the retaining wall and that’s about all that was completed. Funny story, we missed pouring one of the molds, meaning we would be one cap section short for the retaining wall. Drew went to the store and bought a bag of sakrete (pre-mixed dry concrete, just add water) and poured it, but it will have to wait to be installed until next week, to give it time to cure properly. I guess all the excitement of the big day was a bit distracting.
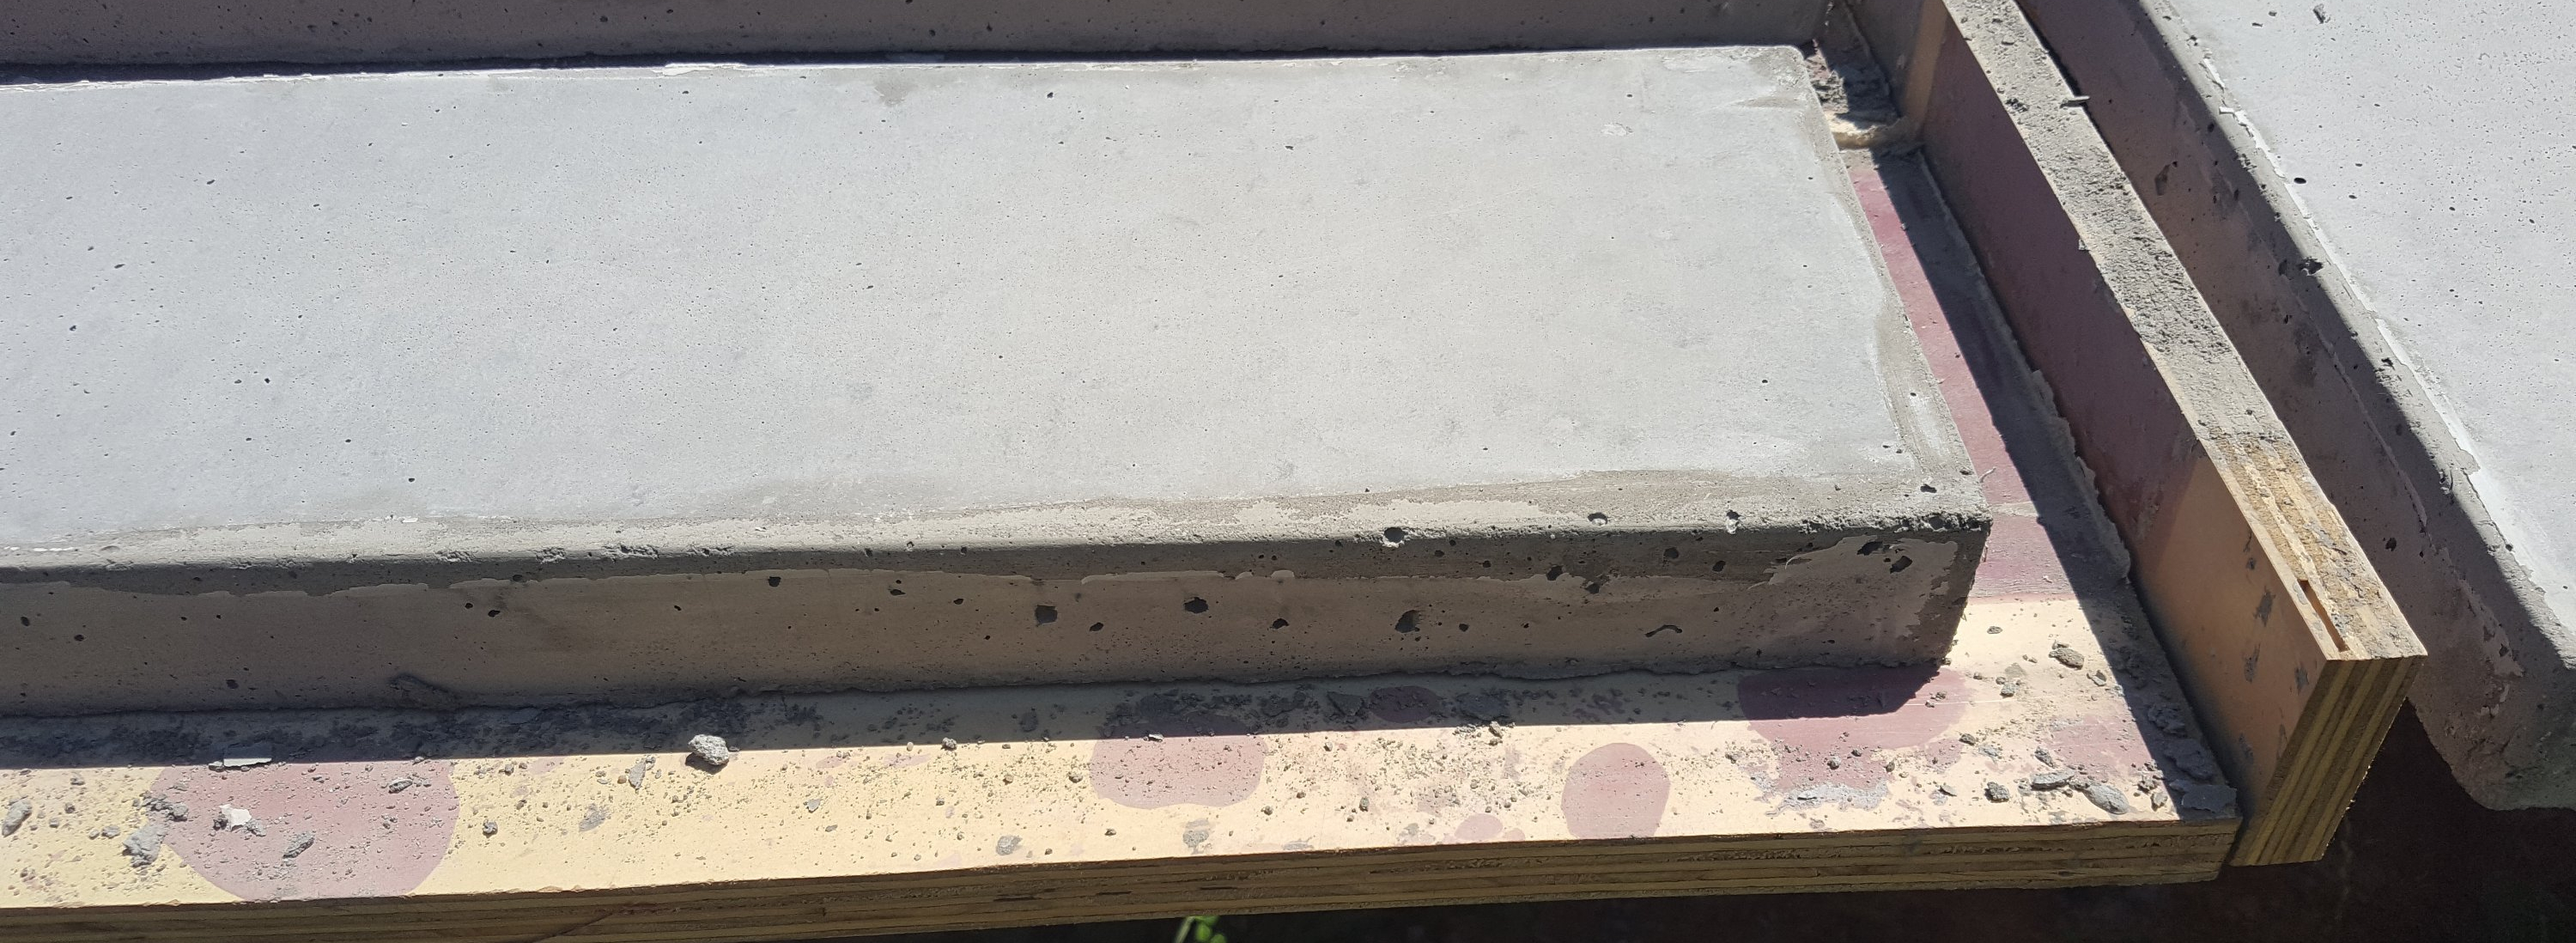
Taking the mold off of the concrete caps was like unwrapping a birthday gift. One you knew would be really cool and couldn’t wait to see! I was busy unscrewing all of the form pieces we used to create the mold, while Drew set to work prepping the wall for the caps.
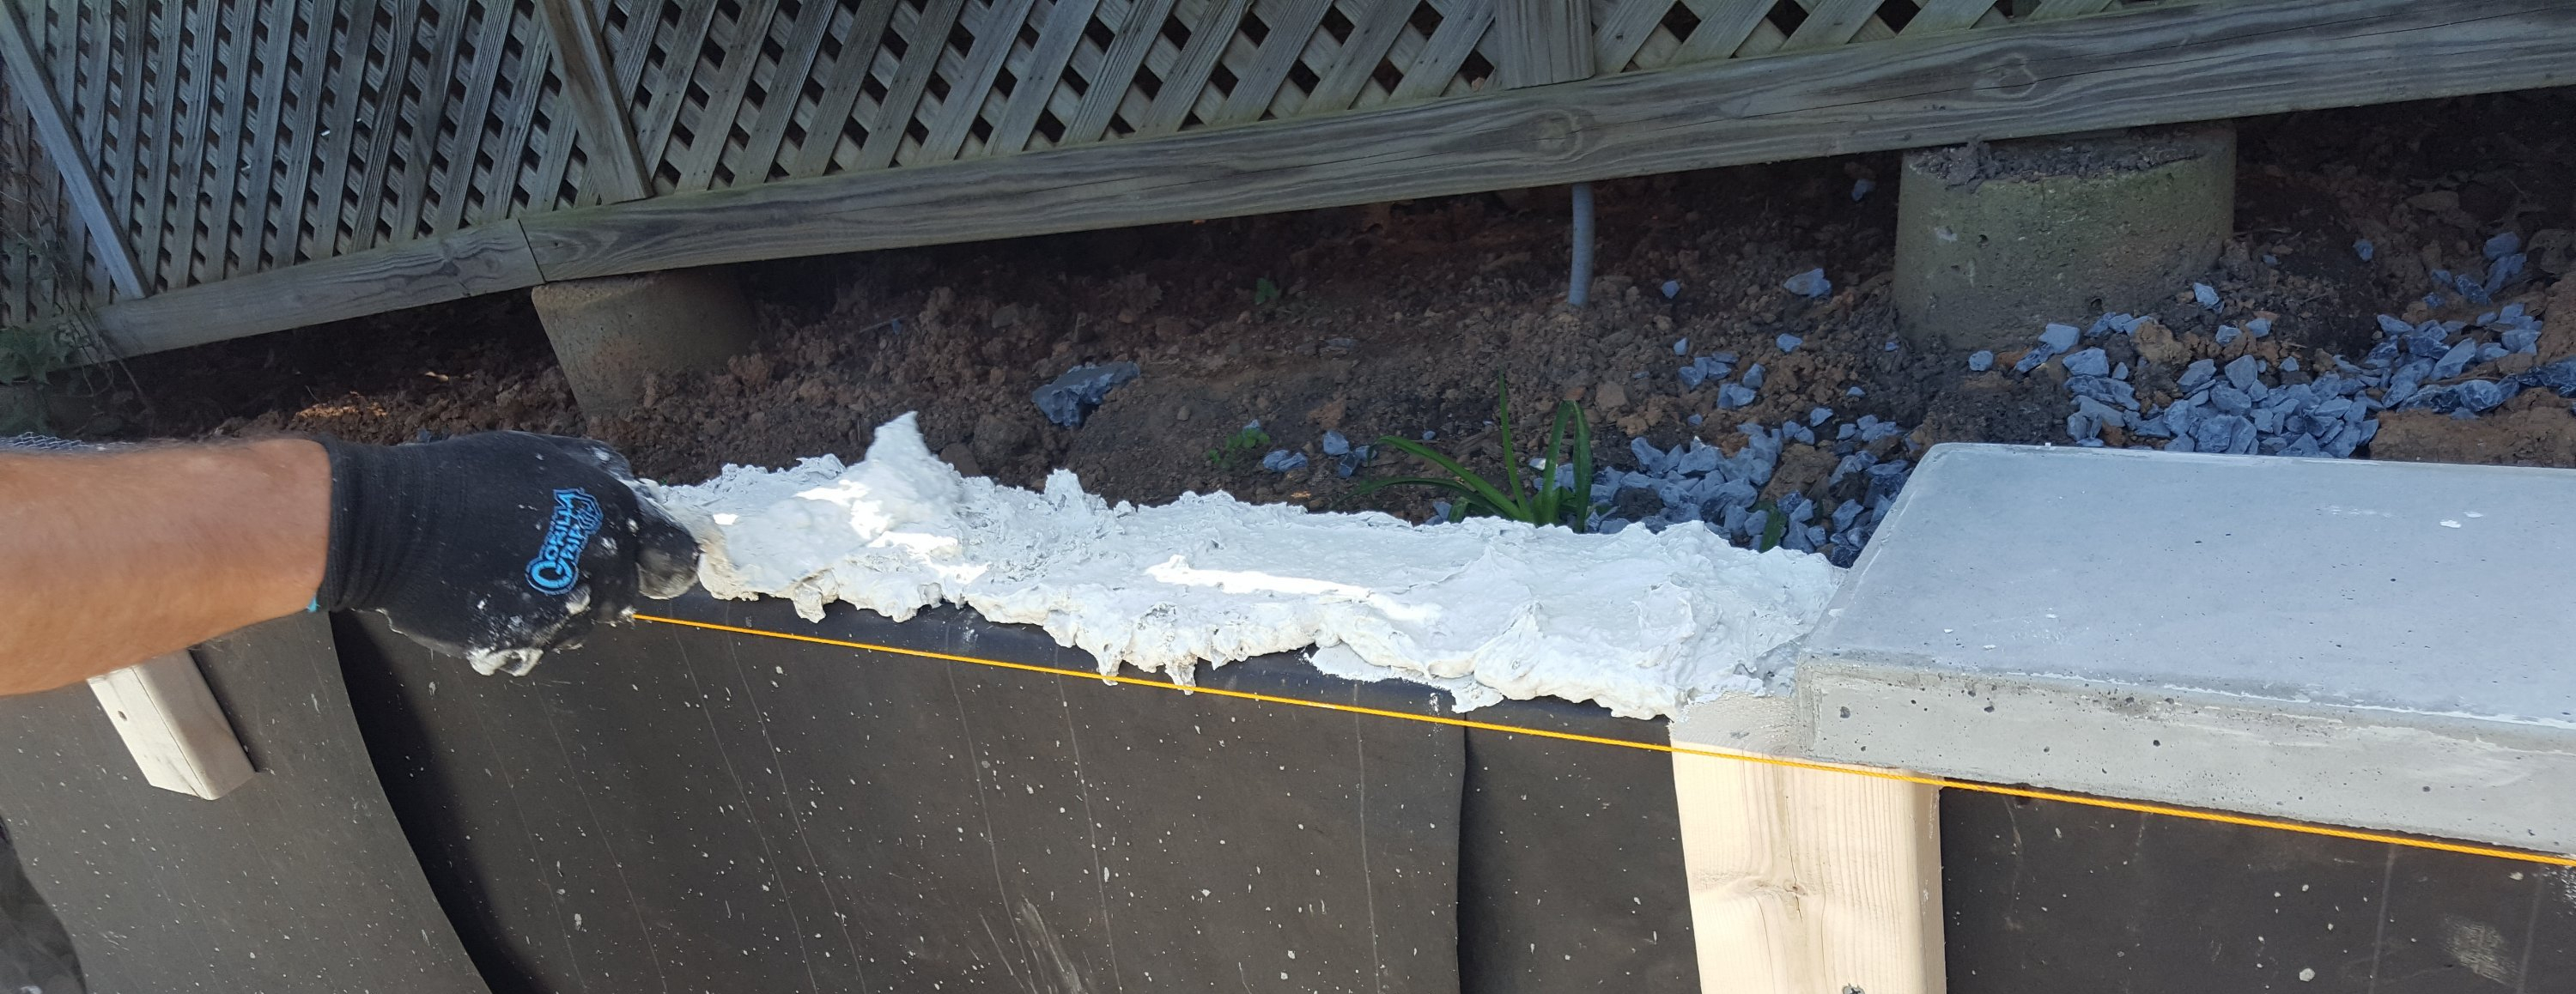
First he screwed several scrap pieces of 2×4 boards to the wall, where he then connected a string line from one section of wood to the other with a screw, ensuring the line was level. This would give him a visual guide to lay the concrete sections and have them be as straight as possible. He then used strips of wire mesh lathe, that were secured to the top of the retaining wall with staples, to create the first layer of bonding for the cap.

He used thin set mortar to bond the caps to the wall, placing a generous gooey mess to try to avoid air pockets and allow for some wiggle room to adjust the caps and make them straight. Then he would scrap off the access after squishing and maneuvering the cap in place.
This is where a woman on the job site is helpful. He hadn’t put a drop cloth or anything under his work, so blobs of mortar were falling all over our beautiful concrete patio. I quickly grabbed a large box, cut it open, and used it as a drop cloth which he could move around as he went. I sprayed off the areas that were inflicted, but it all didn’t all come up. Drew accidently bought white mortar so it showed up more than I would care to think about.
Between Saturday and Sunday (which was Father’s Day) we laid all of the caps. It looks awesome! To finish the caps, we will use sanded non-shrink grout to fill in any pockets that were created by bubbles, and then sand or wipe it down to a very smooth finish. We plan to seal the entire patio, including the caps at a later date.
This upcoming weekend is calling for rain, yet again, thank you mother nature. Our goal is to put the wood siding on the wall and begin back-filling all around the patio. I’m not sure we will be able to accomplish this with the weather not in our favor.
Part 1 to the Patio project is here
Part 2 to the Patio project is here
Part 3 to the Patio project is here

Leave a comment